
Conda Environments
Published:
Virtual environments are a convenient way to manage library dependencies, environment variables, and ensure reproducibility. There are a couple of approaches to this: virtualenv,conda, and docker – see here for a discussion. This post will focus on conda, and give a few practical commands to get up and running.
- Download and install miniconda
sh curl https://repo.anaconda.com/miniconda/Miniconda3-latest-Linux-x86_64.sh -o "$conda_dir/miniconda.sh"
sh -x miniconda.sh -b -p "./miniconda3"
Note: The default conda set-up requires editing the .bashrc file and setting environment variables to point to the conda executable. This is a pain when dealing with multiple servers, fortunately there are ways around this and the commands given here will not rely on editing the .bashrc.
Basic commands
- Create environment called conda_venv, for Python version 3.8
./miniconda3/bin/conda create -n conda_venv python=3.8 - Activate environment
source ./miniconda3/bin/activate conda_venv - De-activate environment
conda deactivate conda_venv
This adds the environment executables such as Python, pip and conda to the executable path. - Install/ uninstall: (once env is activated)
- Through conda:
conda install -c anaconda numpy - Through pip:
pip install numpy
Note: this pip executable will be installed when installing python, and the libraries installed via pip will be specific to the conda environment and not the global environment
- Through conda:
Export installed dependencies to file
conda env export > env.yaml- Install dependencies from file: this is actually creating an environment from a yaml file, so no need to create an empty env first
conda env create -f environment.yml
Conda environments with jupyter notebook
- Make sure jupyter is installed
pip install jupyter - Add kernel for environment
python -m ipykernel install --user --name=conda_venv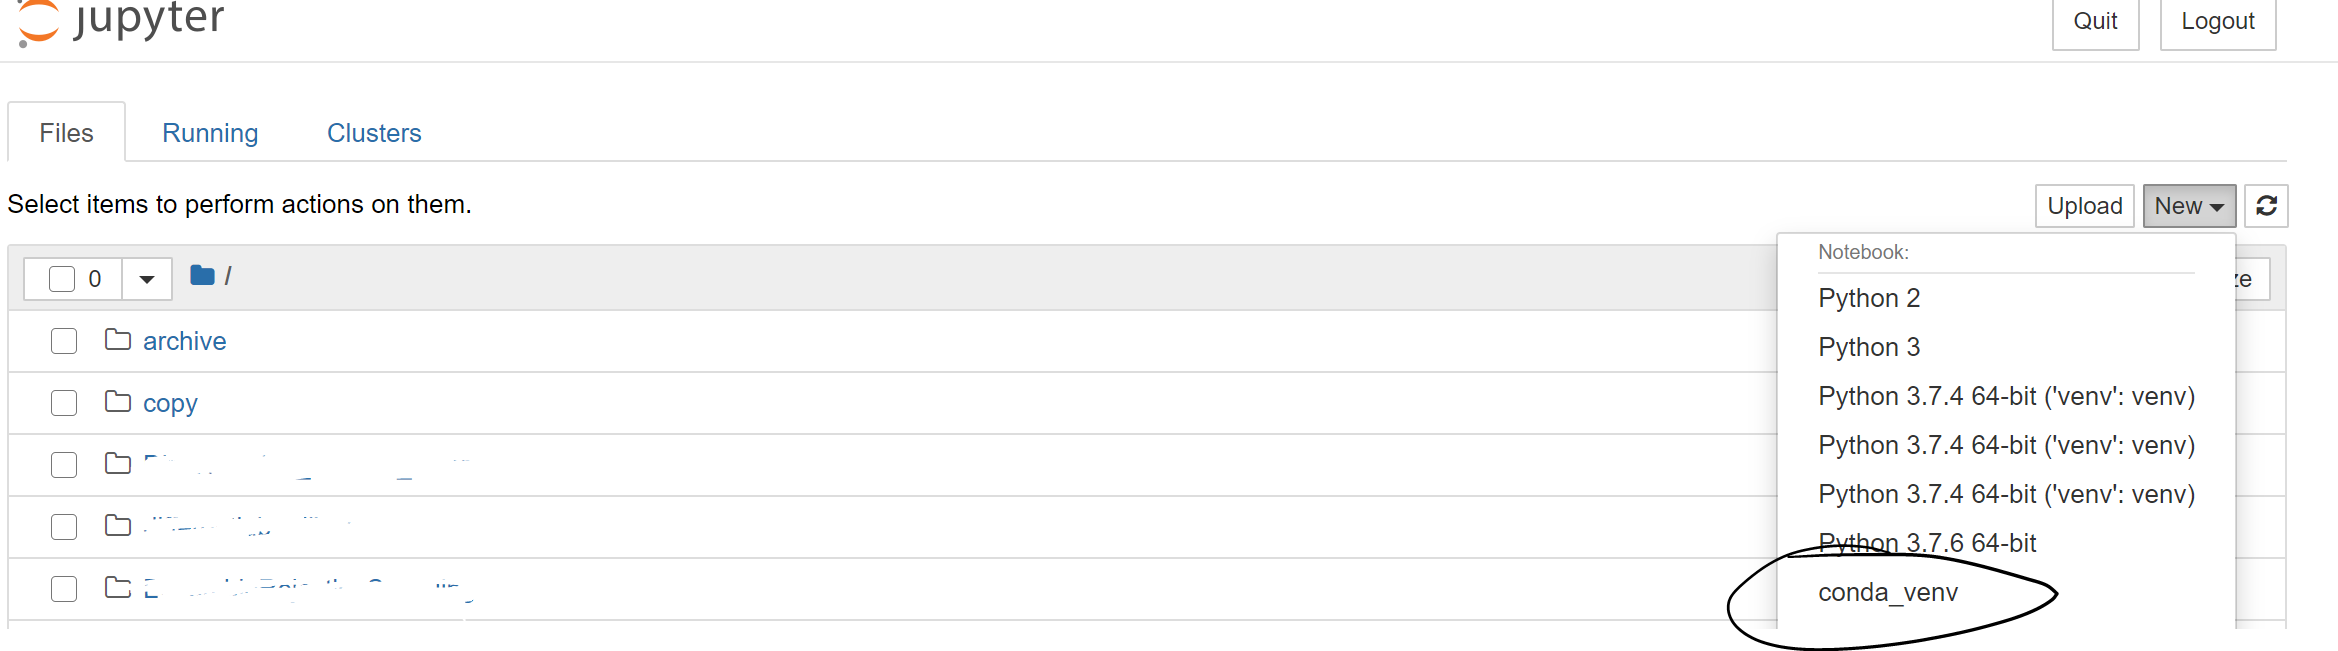
- For windows
conda install pywin32